How to make a Minecraft server (For Free!)
Setting up a simple Minecraft server is relatively straightforward. In this tutorial I'll show you how to set up a basic self-hosted server and share it with the world using Ngrok.
Note that this setup should only be used for small servers and between friends.
Why self-hosted?
Free hosting providers always include a catch. For example on Aternos, a popular free choice for server hosting, your world is limited to only 4GB in size and then you won't be able to start your server again. With a self-hosted server, you can make a world as big as you want, as long as you have disk space left on your PC.
If you plan on making the server a long-term world for your friends, I recommend going with this self-hosted approach.
Creating the self-hosted server
Set up the environment
To run the server, you'll need to have Java installed on your PC. For the latest Minecraft versions you will need Java version 17+. You can download it here. Open the installer (.msi file) you just downloaded and install.

Download the server jar file
Now we have to download the server JAR file that we will be using to host the server. I recommend using a PaperMC server. PaperMC is a high-performance server that will perform great even on the more low-end PCs. Download the latest JAR file here.
Now follow these steps:
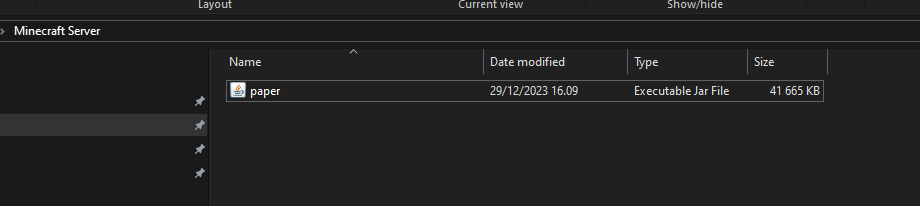
- Create a new folder for your server and drag the downloaded jar file to that folder.
- Rename the jar file to "paper".
- Next, create an empty text document:

- Open the file with notepad and paste this line into the text document:
java -Xms3G -Xmx3G -jar paper.jar --nogui
The amount of RAM can be changed by changing the -Xms and -Xmx arguments. In this case we allocate 3 GB of RAM to the server. Giving more RAM to the server will help it run more smoothly. You shouldn't allocate more RAM to your server than your PC has to offer.
- Now in Notepad, click File -> Save As... and name it to run.bat and change "Save as type" to All files

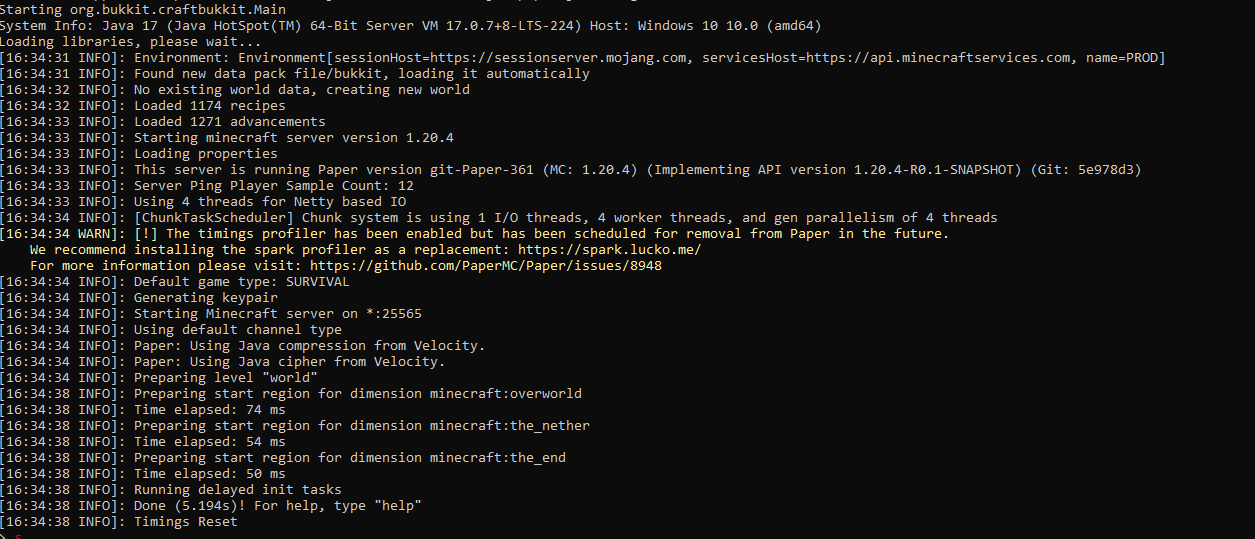
- You can now delete the old text document. Double-click the run.bat file. The server will start and generate a few files, and then stop after a few seconds. This is because we need to accept the EULA.
- Open the eula.txt file with your preferred text editor and change "eula=false" to "eula=true". Save the file.

- Click the run.bat again, the server will now fully start.
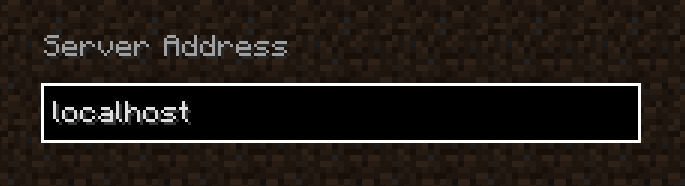
- Now you can connect to it! The address for the server is localhost. Note that the server is currently only accessible locally in your own home network.
- (Optional) if you want give permission to a player to use cheats, type op <username> in the server console

Sharing the server with your friends
Important - Enable whitelist on your server
Before we open our server to the internet, we need to enable whitelist on our server to prevent unwanted players from joining. Griefers are able to find every Minecraft server in existence by scanning all the possible IP addresses, so this step is very important.
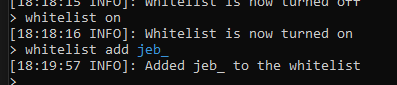
Turn on whitelist: Type whitelist on in your server console
Add people to whitelist: Type whitelist add <player name> in your server console
About Ngrok
Ngrok is a software that allows us to share our locally running servers with the world. It's not originally meant for Minecraft servers, but it works perfectly for them too!
Create account on ngrok
We will need an account to use the app later. Click here to create your account.
Download ngrok
After you've created your account, follow the setup instructions and download the app:
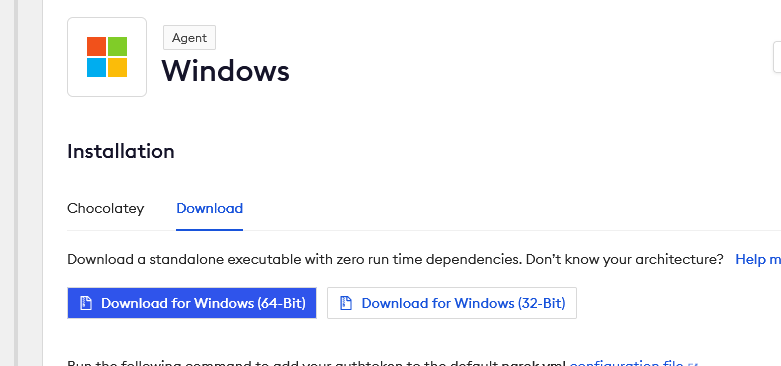
After you've downloaded the app, double click it and it should start.
Then we need to configure our authtoken. Your authtoken should be visible right under the downloads in the setup section. Copy the command visible on the website and paste it onto the app.

Run ngrok
Now that you've downloaded and configured ngrok. The only thing left to do is to run it! We can forward our Minecraft port to the internet by using this command:
ngrok tcp 25565
Tip: add "-region eu" to the end of the command if you're near Europe
That's it! Use the address visible on the screen (looks something like 0.tcp.eu.ngrok.io:12345) to connect to your Minecraft Server. Remember that every time you restart your PC, you will have to start the server and ngrok again.
Ngrok alternatives
Unfortunately the domain you use to connect to your Minecraft Server will change every time you restart Ngrok. If you need a static domain, I would suggest looking into playit.gg.
Conclusion
Hopefully this tutorial has been helpful! Remember that this server setup is only suitable for small servers and should only be used between friends.